Azure DevOpsアドオン 1-Click Child-Links
初稿:
更新:
- 3 min read -

Azure DevOps Boardsのタスクを毎回作るのがめんどい
個人開発だがタスク管理に「Azure DevOps Boards」を使っている。 Taskを毎回手動で作るのはめんどいため「1-Click Child-Links」というプラグインを使用している。
「1-Click Child-Links」のインストール
- 以下のリンクからプラグインのページを開きます 1-Click Child-Links - Visual Studio Marketplace
-「Get it free」のボタンをクリック。

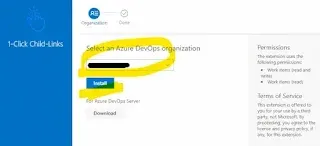
Azure DeoOpsの組織を選択し、「Install」ボタンをクリック。※権限がない場合は、Administratorへ申請する画面が開くので許可を貰ってください。
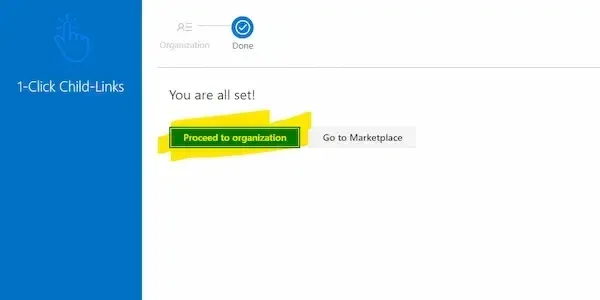
「You are all set!」が表示されたらインストール完了です。
「1-Click Child-Links」の使い方
作成例の前提条件
※「Work item process」は「Scrum」を選択している。AgileやBasicを使っている場合は固有名詞を適宜読み替えを。
作成例として「Bug」と「Product Backlog Item」に、それぞれ自動で追加するTaskのセットを設定する。
Bug
- 再現・原因調査
- *テスト作成
- *実装・修正
- *ローカルにコミット
- *リモートへプッシュ
Product Backlog Item
- 技術調査
- 設計
- *テスト作成
- *実装・修正
- *ローカルにコミット
- *リモートへプッシュ
「*」は共通、それ以外はItem固有のTask。
実際に作ってみる
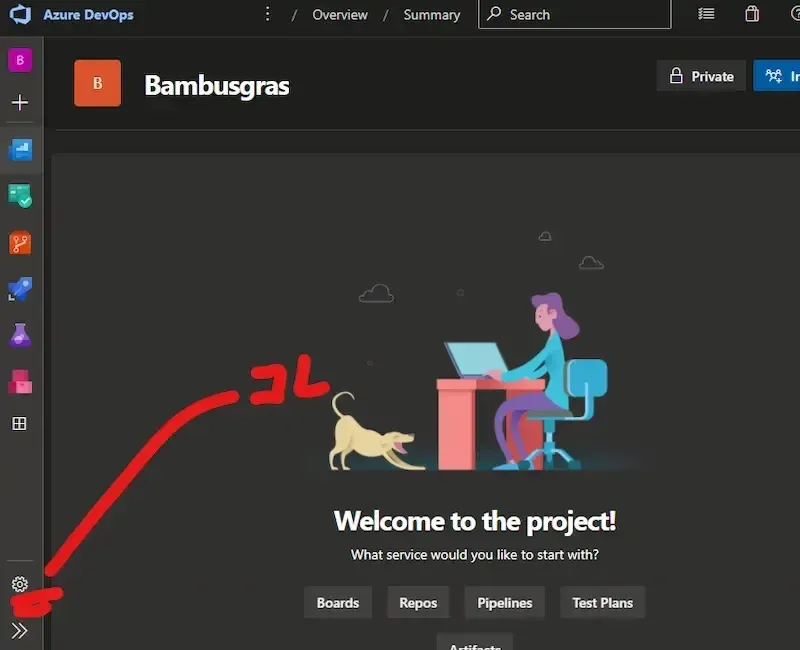
Azure DeoOpsのプロジェクトページ左下の「歯車」をクリック
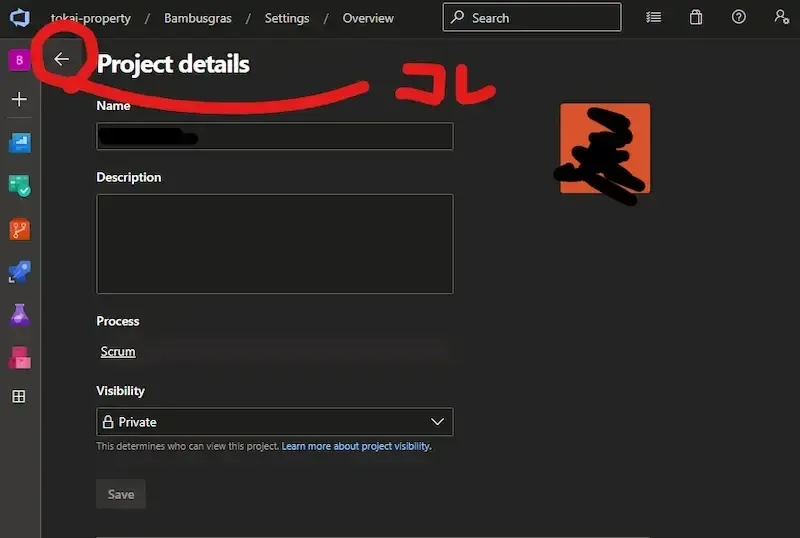
画面右上の「左矢印」をクリック
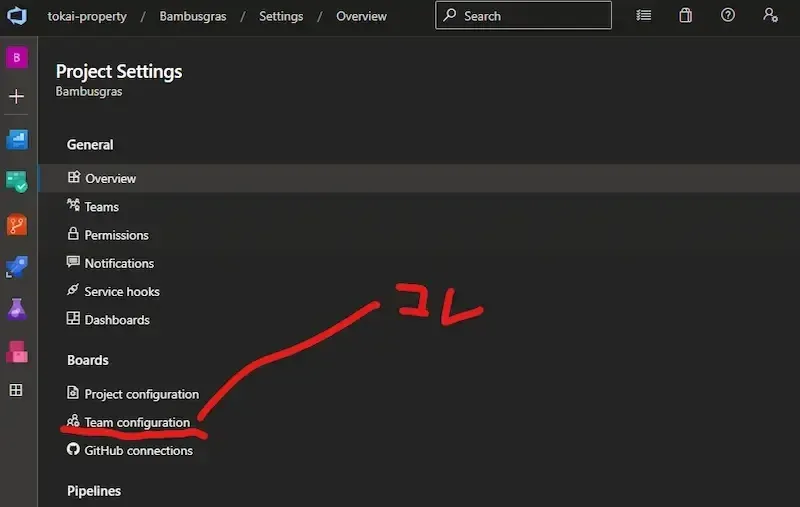
Boardsのエリアにある「Team configuration」をクリック
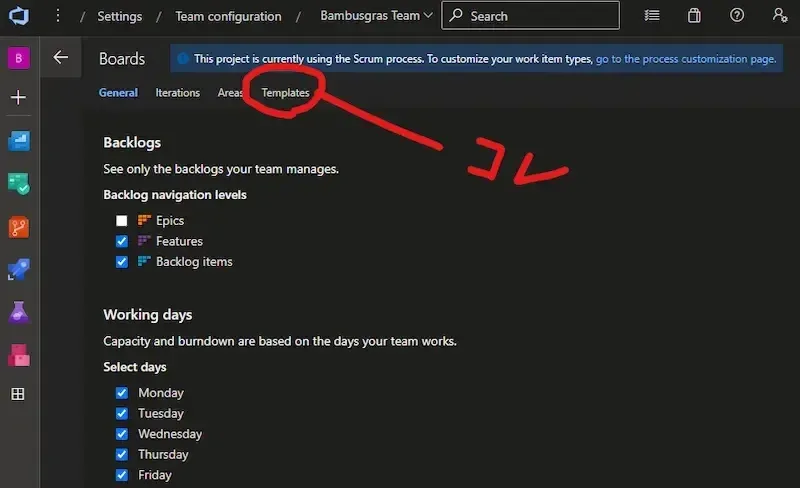
画面上の「Templates」をクリック
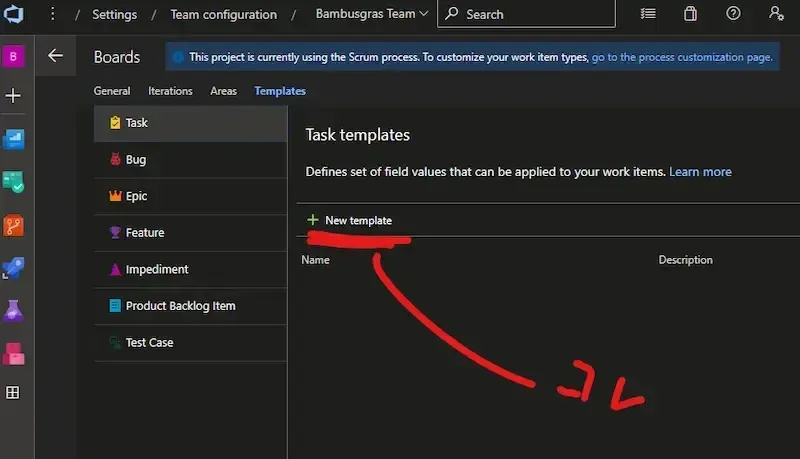
「Task」の「New template」をクリック
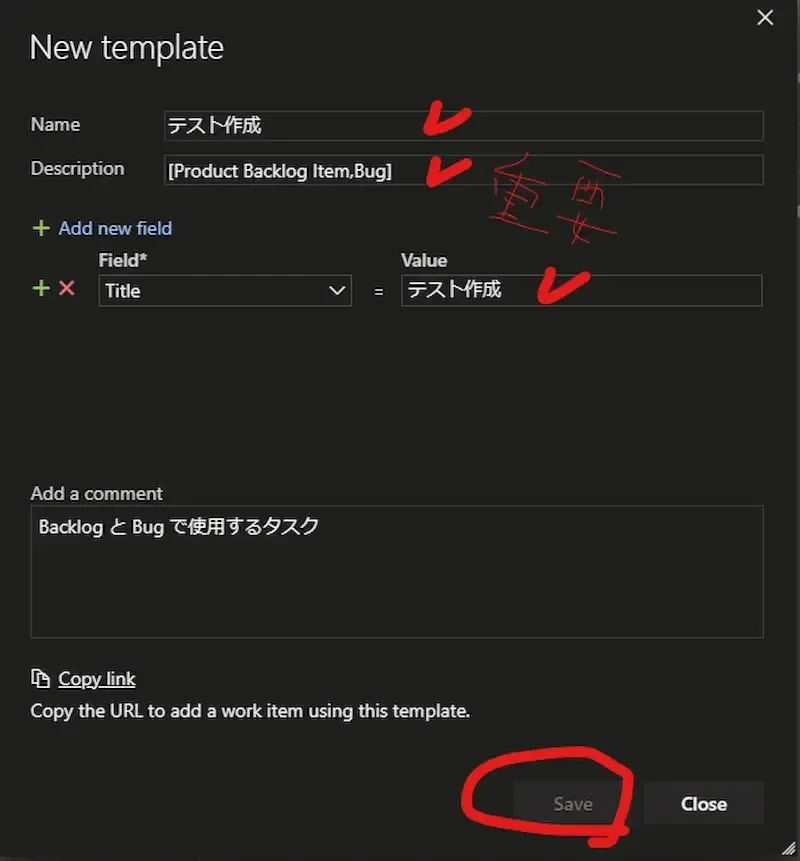
各項目を埋め保存する
- Name:これはテンプレート名、ご自由に。
- Description:重要。どのWork Itemに対して生成するかを括弧[]内にカンマ区切りで記載する。画像の例は、「Product Backlog Item」と「Bug」に、このテンプレートを自動追加する設定。
- Add new field:デフォルト値をここで定義する。
- Add a comment:テンプレートのメモ。
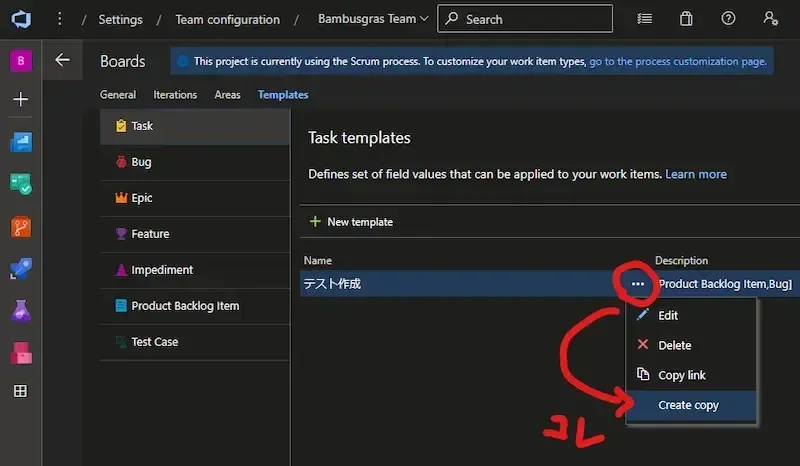
「New template」または「Create copy」で必要分をどんどん追加する
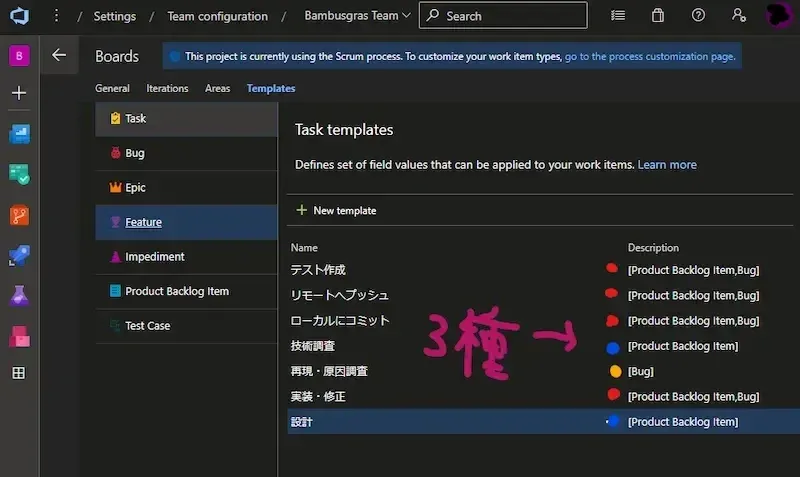
こんな感じになる。画像の赤印は共通のTemplate、黄印はBug、青印はProduct Backlog Item固有の3種を登録した。
Bugに正しく「Bug固有」と「共通」のテンプレートが追加できるか試してみる。新規作成し保存する。
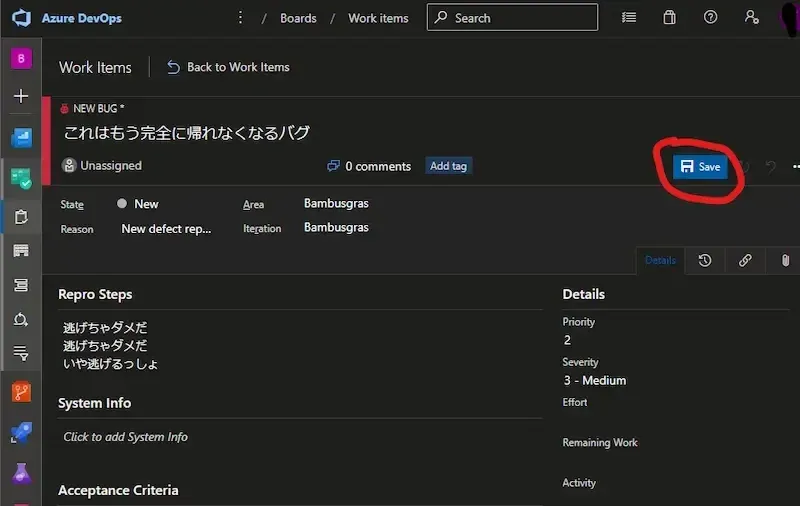
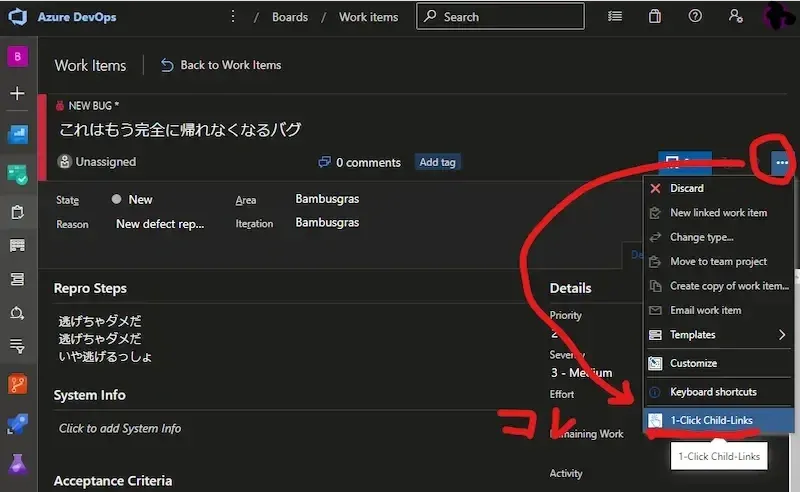
保存したら、画面右上の「…」から「1-Click Child-Links」をクリックする
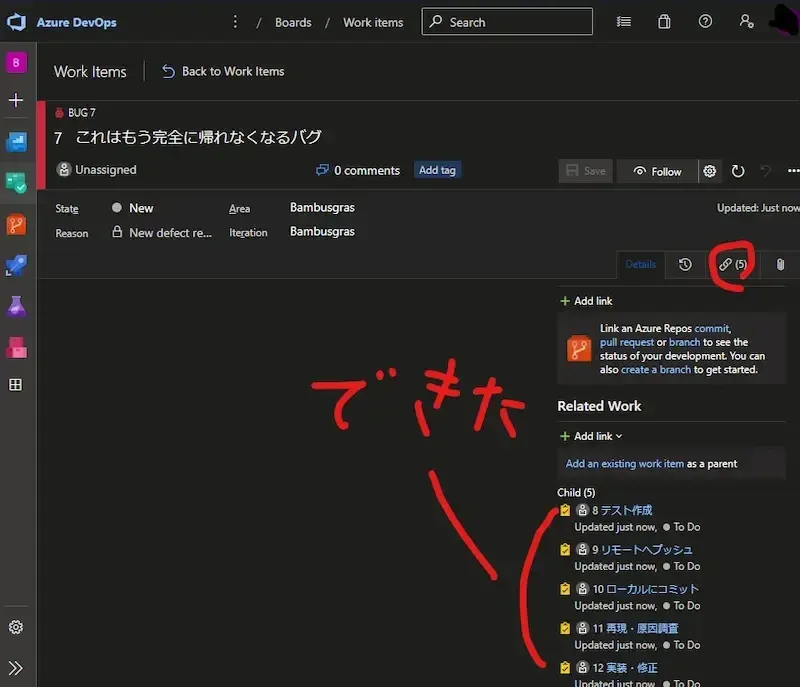
できた。
以上。